

The screw head disappears into the cabinet panel before you can release the trigger. The clutch on a drill limits driving torque, helping you seat screws without stripping their heads or crushing the material underneath. The right setting isn't a number copied from someone else's drill. It's the lowest setting that seats your actual fastener correctly in your actual material.
What the Clutch on a Drill Actually Does
A carpenter finishing drywall during a hot Sacramento remodel needs more than a drill that spins. The tool must drive the screw firmly enough to seat it without continuing to chew through the surface. That's where the adjustable clutch earns its place, whether you're fastening cabinet hardware all afternoon or hanging a shelf at home.
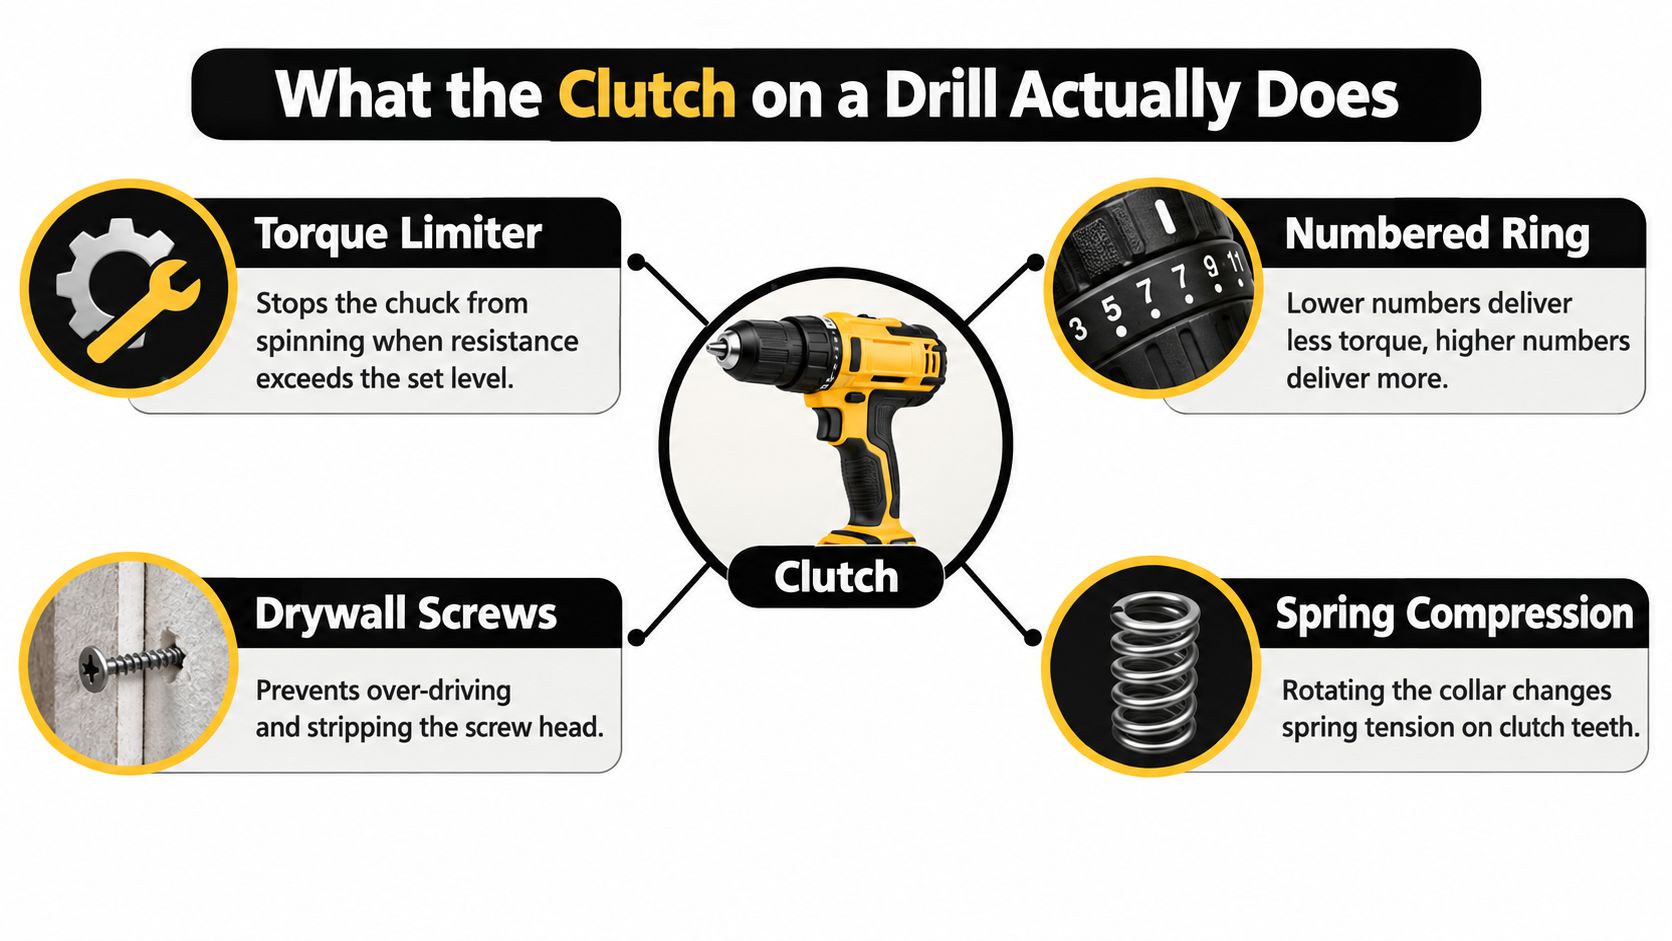
The clutch is a torque limiter, not a speed control. When resistance reaches its selected threshold, the mechanism slips or disengages instead of passing all the motor's driving force through to the chuck. Different designs handle that release differently, as documented in torque-limiting clutch patent literature.
The infographic shows the relationship between the numbered collar, internal mechanism, and fastening result.
Controlled Release Beats Uncontrolled Damage
Think of clutch slip as controlled failure. The mechanism gives way deliberately before excessive driving torque damages a fastener, its threads, or the workpiece. It reduces the likelihood of damage, but it doesn't guarantee that every screw will stop at exactly the same depth.
- For finish work: Less transmitted torque helps protect small screws and sensitive surfaces.
- For repeated fastening: A tested setting gives you a useful baseline instead of relying entirely on trigger timing.
- For troubleshooting: Clicking or slipping can mean the clutch has reached its limit, not that the motor has failed.
Practical rule: Judge the clutch by the seated screw, not by how powerful the drill sounds.
A clutch also isn't a wrist-protection guarantee. Drilling with a binding bit, using bypass mode, or continuing to force a stalled application can still expose you to reaction torque. Hold the tool securely and follow its operating instructions.
For contractors, the benefit is repeatable fastening with fewer damaged components to remove. For DIYers, it's having a margin for error when a screw reaches a delicate surface. Either way, the useful skill is recognizing when the tool has done enough, then releasing the trigger rather than fighting the clutch.
Inside the Clutch Collar and the Drill Symbol
Look behind the chuck for the numbered ring. On a conventional mechanical design, turning that collar changes spring compression or clutch engagement, which changes how much resistance the tool accepts before releasing. Higher numbers generally allow more torque, but the actual mechanism and range depend on the drill.
Locate the collar before selecting a fastening mode.
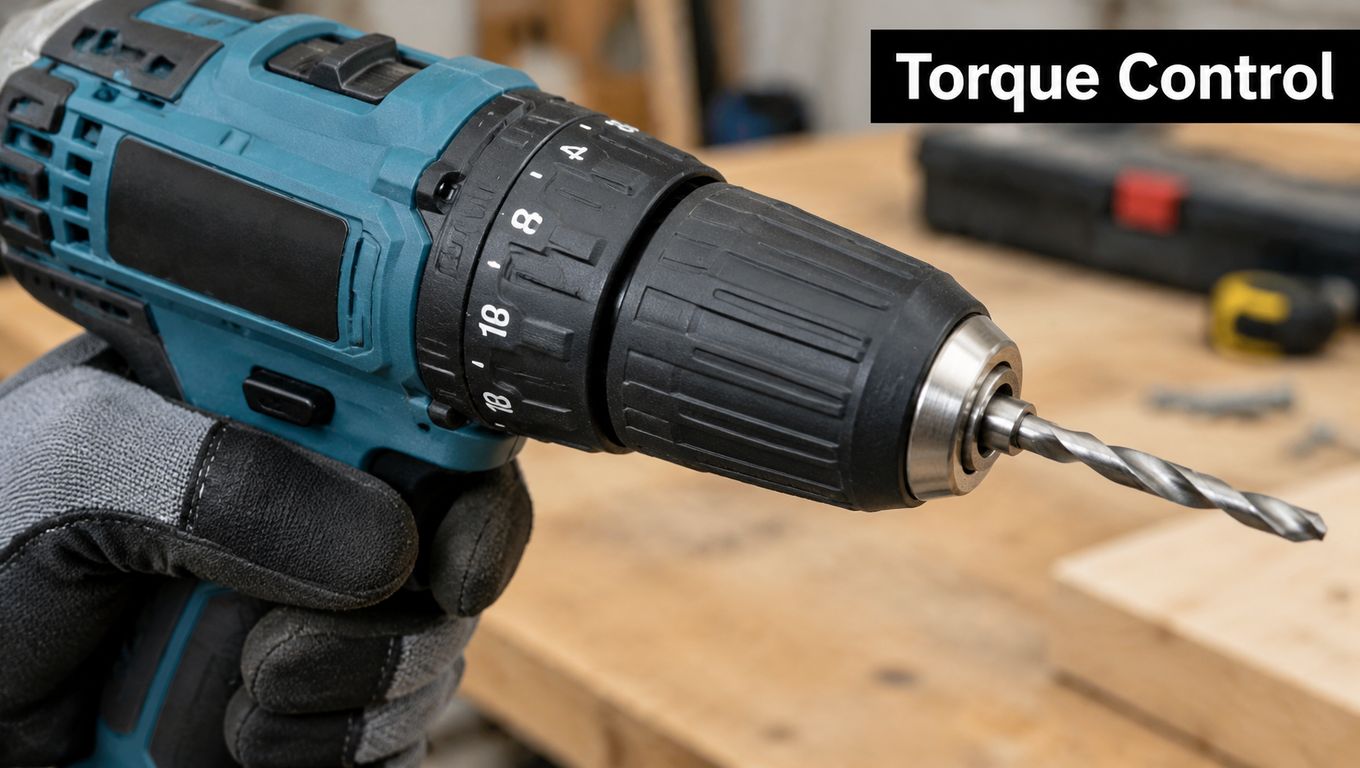
The adjustable clutch isn't a recent cordless-tool novelty. Patent milestones include a 1956 filing and 1958 publication, followed by spring-adjustment and selectable drill-driver designs in 1988 and 1991, respectively, as identified in the adjustable-clutch patent record. The practical progression was toward a rotary tool that could control fastening force rather than deliver it.
Why the Drill Symbol Is Different
The drill-symbol position usually bypasses the fastening clutch or provides a solid-lock mode. It isn't merely another numbered step. A Milwaukee drill-driver operator manual distinguishes 20 driving settings from a separate drill position that provides maximum output.
That distinction matters when boring holes. A working clutch can release whenever the cutting load exceeds its threshold, interrupting progress. Conversely, bypass mode removes the controlled release you want for ordinary screws.
| Collar position | Intended behavior | Practical use |
|---|---|---|
| Lower numbered settings | Earlier torque release | Sensitive fastening |
| Higher numbered settings | More torque before release | Fasteners needing greater driving force |
| Drill symbol | Clutch bypass or solid lock | Continuous drilling torque |
A torque wrench is a useful analogy because both tools respond to resistance. Don't take the comparison too far, though. A drill collar isn't a substitute for a calibrated torque wrench on a connection with a specified tightening requirement.
Use the demonstration alongside your own drill's manual.
How to Pick the Right Clutch Setting on the Job
Clutch numbers are relative, model-specific settings, not universal torque values. Setting a replacement drill to the same number as your old one doesn't reproduce the old tool's output. Establish a fastening baseline before touching finished work.
One published drill operator manual lists 18 clutch settings, with approximate output ranging from 5–15 in-lb for settings 1–5 to 29–40 in-lb for settings 16–18. Those figures belong to that tool and remain approximate, not calibrated tightening specifications.
Use the Scrap-and-Step-Up Method
- Match the assembly: Use scrap of the same material, the intended screw, and the actual driver bit. Reproduce the pilot hole and hardware arrangement where applicable.
- Start low: Select a low clutch setting and drive the screw with controlled trigger pressure.
- Increase gradually: If the clutch releases before the fastener seats, raise the collar one step and try a fresh fastening location.
- Inspect the result: Stop increasing when the screw reaches the required position without damaging its recess or crushing the surface.
- Retest after changes: A different screw, substrate, battery condition, or bit can change the result.
“Flush” isn't the correct finish for every fastener. A cabinet hinge screw should seat against its hardware, while a drywall screw needs its intended recess without tearing through the facing. Use the fastener's installation requirements as the target.
| Application | Qualitative starting point | What to watch |
|---|---|---|
| Small cabinet screws in plywood | Low clutch range | Hardware distortion or damaged threads |
| Drywall screws into wood studs | Low setting, then test upward | Facing damage and inconsistent recess |
| Deck screws in pressure-treated lumber | Test greater torque availability | Early release before seating |
| Self-tapping metal screws | Conservative setting | Sudden resistance when the head seats |
| Small screws in plastic | Lowest practical range | Cracking or stripped threads |
Pair the Clutch With the Speed Range
Low gear generally provides greater available torque; higher speed suits lighter work. That distinction is discussed in Which?’s cordless-drill buying guidance. Neither gear selection nor a higher maximum-torque rating replaces careful fastening control.
For a purchase, use the cordless drill buying guide to compare the controls and configuration you'll use. For cabinet assembly, a manageable low-torque range can matter more than headline power.
Clutch or Impact Driver and Which Jobs Need Which
A drill-driver and an impact driver solve different fastening problems. Choose the drill's clutch when the finish, hardware, or threads need restraint. Consider an impact driver when the fastener demands sustained driving effort and a numbered clutch keeps interrupting the job.
Cabinet assembly, drawer hardware, furniture fittings, and small screws are sensible clutch applications. For fragile light-switch plates or small electronics, hand tightening may offer better final control than either powered tool. Isolate electrical equipment before working on it.
Choosing Between Drill Clutch and Impact Driver by Job
| Job or Fastener | Better Tool | Why |
|---|---|---|
| Cabinet hinges and drawer hardware | Drill with clutch | Adjustable restraint near seating |
| Flat-pack furniture screws | Drill with clutch, cautious finish | Helps avoid damaging soft panels |
| Drywall screws | Drill with tested clutch or dedicated screwgun | Seating depth matters |
| Long deck screws | Impact driver | Better suited to demanding fastening |
| Lag bolts and structural screws | Appropriate impact tool | Match tool capability to the fastener instructions |
| Pilot holes and shelf-pin holes | Drill in drilling mode | Continuous rotary cutting |
| Fragile cover plates | Hand screwdriver | Direct control over final seating |
An impact driver isn't immune to stripped heads. Bit fit, alignment, and stopping at the right point still matter. Don't treat rotational impacts as permission to drive every fastener harder.
Pros, Cons, and Ideal Users
- Drill-driver: Useful for buyers who need both holemaking and controlled screwdriving. Its trade-off is that a sensitive clutch setting can release prematurely on demanding fasteners.
- Impact driver: A practical companion for crews driving long or high-resistance screws. Its trade-off is that it shouldn't be assumed to offer the same adjustable fastening restraint.
- Hand screwdriver: Worth keeping for delicate final tightening. It's slower for repetitive installation but gives direct feedback through your hand.
The cordless impact driver versus drill comparison can help you decide whether to buy a drill alone or a complementary pair. For a broader remodeling equipment checklist, Trademaster Construction's tool guide is a related resource, rather than a source for clutch calibration.
Choose by the fastener and the finish, not by whichever tool happens to be in your belt.
Why the Clutch Feels Inconsistent and How to Test It
A screw stopping short doesn't identify the fault. The clutch may have released, the motor may have stalled, the bit may have slipped out of the recess, or the chuck may have lost its grip. Diagnose what stopped moving before turning up the collar.
Battery state, bit condition, screw geometry, substrate density, and trigger speed can all change how the fastening operation feels. Cordless output can also decline as battery voltage falls; the relevant discussion of battery-dependent output is included in this corded-versus-cordless tool overview. That doesn't establish a universal relationship between charge level and clutch torque.
Separate the Symptoms
| Observation | What to check first |
|---|---|
| Repeated clicking with little screw movement | Clutch threshold and application resistance |
| Bit jumps out of the screw head | Bit fit, wear, alignment, and recess damage |
| Motor struggles without clear clutch release | Battery condition and excessive load |
| Bit shank turns inside the chuck | Chuck grip and proper bit seating |
| Tool stops abruptly | Battery, electronics, and the model's protection behavior |
A mechanical clutch and an electronic protection system aren't interchangeable. Don't assume an abrupt shutdown means the numbered clutch operated correctly. Read the manual for that model before interpreting the symptom.
Run a Controlled Comparison
Use matching screws and consistent scrap, with fresh fastening locations that don't overlap damaged holes. Repeat the application several times at a low setting, then compare its behavior at middle and higher settings. Keep the bit, gear range, and trigger technique consistent.
Repeat with a fully charged battery and then a partially charged one. Inspect screw heads, seating depth, and chuck grip after each group. You're looking for a repeatable pattern, not an isolated good result.
An open-box label doesn't prove battery wear, and a spinning chuck doesn't prove fastening performance. Check the battery and charger separately, then assess the assembled tool under a controlled load.
Inspection standard: A useful used-tool test includes resistance, release behavior, and the finished fastener.
Stop when the clutch slips repeatedly. Holding the trigger harder won't correct the setting, repair a worn bit, or make an undersized tool suitable for a demanding fastening job.
Real-World Use Cases for Contractors and DIYers
Consider a Central Valley remodeling crew installing cabinet hardware. The crew tests the drill on offcuts before fastening the finished plywood panels. Once the hardware seats cleanly, that setup becomes the baseline for matching assemblies, not a permanent setting for the rest of the project.
When the work moves to a denser component or a different screw, the installer retests rather than automatically adding torque. For shelf-pin holes, the installer selects drilling mode and follows the bit's requirements. These are different operations, even when they happen on the same cabinet.
Who This Is For
- Remodeling and finish crews: Workers who alternate between boring holes and fastening visible hardware.
- Property managers and maintenance staff: Buyers handling furniture, fittings, cabinets, and varied small repairs.
- DIY homeowners: Users who want a manageable drill-driver for assembly and household projects.
- Small businesses watching equipment costs: Buyers willing to evaluate an open-box tool's condition and compatibility.
Now consider an Elk Grove homeowner assembling particleboard furniture before mounting a heavy mirror. For the furniture, the priority is protecting the panel and stopping when the fitting seats. For the mirror, the mounting hardware, wall substrate, and installation requirements determine the fastening method.
A clutch setting cannot establish whether an anchor is appropriate or whether a wall connection will support the load. Don't use a neatly seated screw as evidence that the mounting design is sound.
Who Should Avoid This
Avoid relying on a drill clutch as your primary solution if most of your work involves long structural screws or other high-resistance fastening. Also avoid using it where the connection requires verified tightening torque. Those applications need the appropriate tool and installation procedure.
Sacramento-area summer work also calls for sensible battery handling. Keep packs out of direct sun when practical, allow cooling as directed by the manufacturer, and don't interpret a hot tool's behavior as a clean clutch test. Follow model-specific temperature guidance rather than assuming every battery responds the same way.
For urgent local work, confirm stock, pickup availability, and the actual delivery estimate before scheduling around a replacement. A bargain drill only helps if its battery system and configuration fit the job.
Maintenance and Open-Box Clutch Inspection
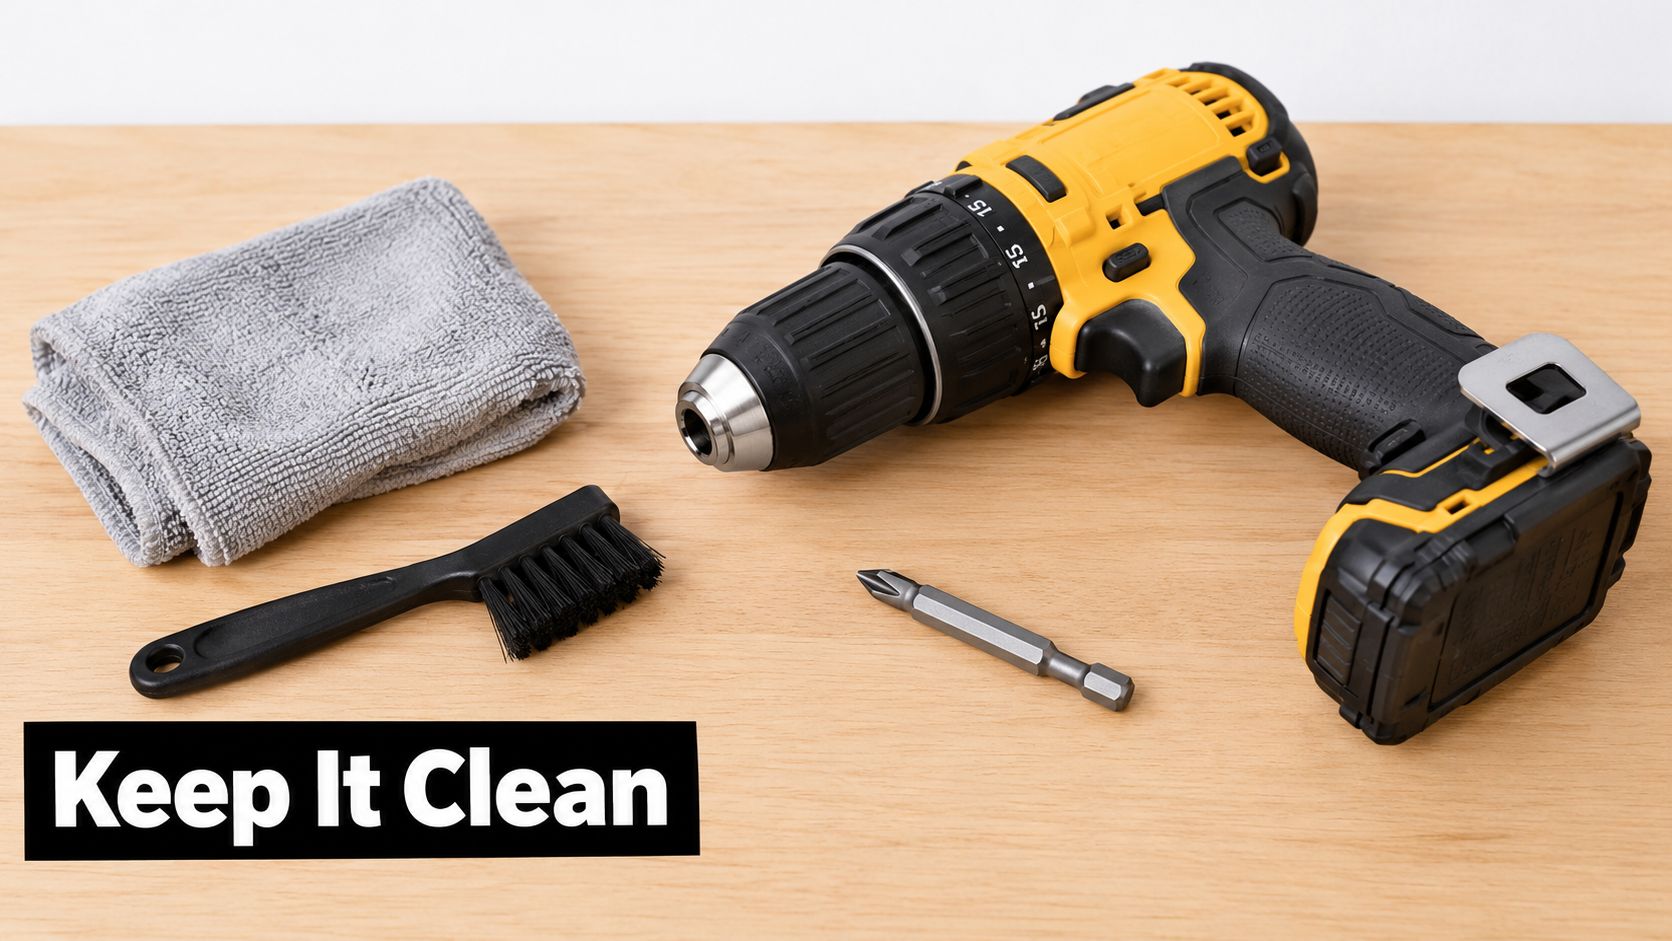
Keep drywall dust off the collar and out of accessible openings. Wipe the exterior with a cloth and use a soft brush where appropriate, following the manual's cleaning instructions. Don't introduce oil or cleaner into the clutch because it sounds rough.
Basic inspection starts with a clean tool and a serviceable bit.
Replace cammed-out driver bits before they damage more screw heads. Follow the battery manufacturer's storage guidance and use the approved charger. Remove the battery before maintenance or adjustments that could expose you to accidental operation.
Inspect Before You Commit
- Collar markings: Confirm you can identify the selected position.
- Collar engagement: Check for positive selection rather than loose, ambiguous movement.
- Chuck condition: Verify that it grips a correctly seated bit securely.
- Gear selection: Confirm the selector engages properly with the tool stopped.
- Battery and charger: Check compatibility, condition, and operation.
- Loaded fastening: Test low, middle, and higher settings on suitable scrap.
Durability matters more than clean packaging. An open-box drill may look nearly new yet still deserve a loaded test; cosmetic wear alone doesn't establish a faulty clutch. Check ergonomics too, including grip comfort, trigger control, balance with the intended battery, and access to the collar.
Buy the Configuration You Need
A bare tool listing needs particular attention to what's included. Don't assume the photographed battery, charger, accessories, or case come with the purchase. A low tool-only price can be poor value if you must also change battery platforms.
The open-box buying explanation is useful for understanding condition descriptions. Compare open-box purchases with new kits and manufacturer-refurbished options, then check each listing's warranty and return terms.
For unfamiliar equipment, a return policy should give you room to evaluate normal operation, not encourage continued use of a suspect tool. Stop using a drill with damaged components, unreliable controls, or abnormal behavior, and contact the seller.
Drill Clutch Questions Buyers Actually Ask
Should I Use the Clutch for Every Screw?
Use a numbered clutch setting for ordinary fastening when controlled seating matters. Demanding fasteners may require another tool, while fragile fittings may be better finished by hand. Follow the fastener's installation requirements rather than treating clutch use as a universal rule.
What Setting Should I Start With for Drywall or Deck Screws?
There's no transferable number. For drywall, prioritize the required recess without damaging the facing. For deck screws, establish whether the drill can complete the fastening appropriately or whether an impact driver is the more suitable choice.
Is a Slipping Clutch a Sign of a Bad Battery?
Not necessarily. Compare the symptoms in the diagnostic table, then repeat the controlled fastening test with a known-good compatible battery where available. Don't condemn the clutch based only on a screw that stopped short.
Is an Open-Box Drill Worth Buying?
It can be, provided its loaded performance, configuration, and condition suit your work. Compare the complete purchase cost, including any required battery and charger, and confirm the return policy before paying.
Does Brushless Mean Better Clutch Control?
The motor description alone doesn't establish clutch performance. Evaluate the model's actual adjustment range and fastening behavior. For precision work, controllable seating matters more than the motor label.
Can I Test the Drill Before Local Pickup?
Ask the retailer what inspection or testing is available before visiting. Confirm the item's stock status, included accessories, and pickup arrangements so you don't plan a job around an unverified assumption.
Value Tools Co offers open-box and lightly used tools for buyers comparing cost with practical condition and performance. Visit Value Tools Co to check drill-driver listings, battery compatibility, and current return or Elk Grove pickup terms, then choose a tool whose clutch you can test on the work you do.


