

You've got a full sheet on sawhorses, the cut line marked, and one bad pass is about to turn good plywood into expensive scrap. That's the reality with sheet goods. Clean plywood cuts come down to three things: the right blade, full support under the sheet, and a cut setup that matches the tool. Miss any one of those and you get splintered veneer, wandering cuts, or a sheet that pinches the blade at the end.
Around Sacramento and the Central Valley, I'd add one more practical factor. Heat changes how you work. On 100°F+ afternoons, cordless saws and batteries get hot fast, and a rushed cut on a floppy sheet usually turns into rework. If you want to know how to cut plywood cleanly, start by treating it like a large engineered panel, not like a 2x board.
What Makes Plywood Different to Cut
A plywood sheet punishes sloppy handling because you're not cutting a narrow stick of lumber. You're cutting a 4 × 8 ft panel, or 1220 × 2440 mm, which is the common default format used across North America and many international markets for cabinetry, sheathing, and general construction, and that standard footprint drives how cuts get planned from a 32-square-foot panel rather than board-by-board thinking (standard plywood sheet sizes). That's why layout matters so much before the saw even comes out.
Plywood also isn't a single solid piece of wood. It's layered veneer, and that face veneer is where mistakes show up. A rough cut on framing plywood might be tolerable. The same cut on cabinet-grade material leaves chipped edges that you'll stare at for the life of the job.
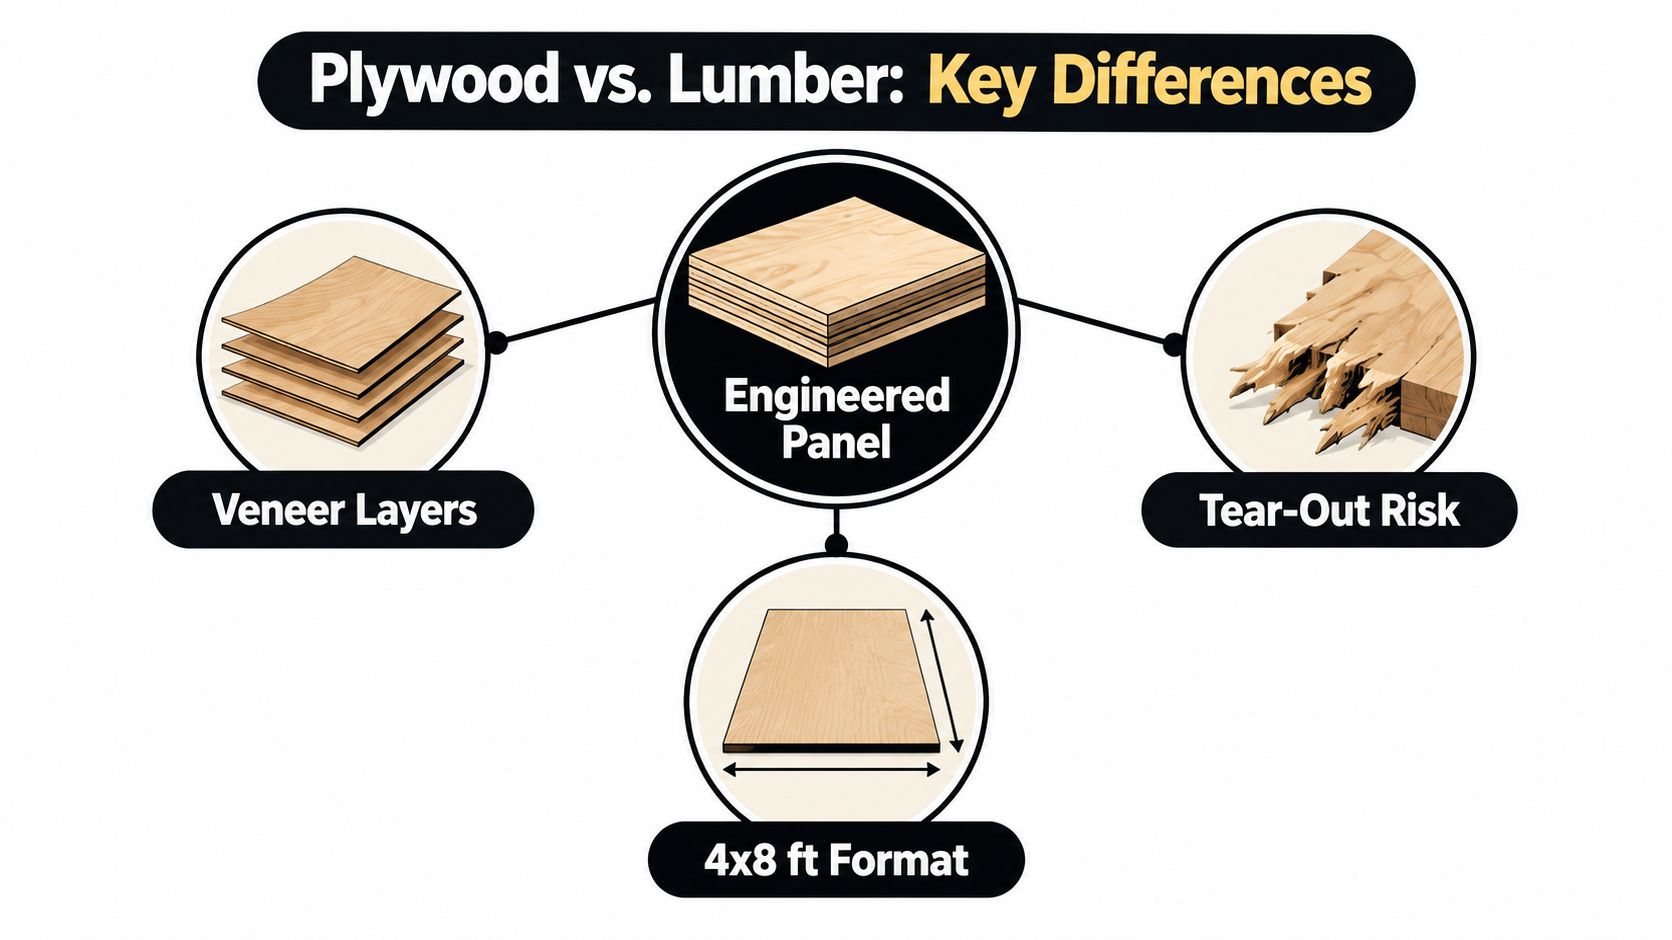
Why standard sheet size changes the way you cut
Once 4 × 8 ft became the dominant sheet format, cutting methods, saw guides, and breakdown workflows all followed that standard, with common nominal thicknesses often listed as 6 mm, 12 mm, and 19 mm, or roughly 1/4 in, 1/2 in, and 3/4 in, depending on market and application (plywood sheet size guide). In plain terms, plywood work is about repeatable rectangular breakdowns, not freehand trimming.
That also explains why crews who cut plywood well tend to work in stages:
- Layout first: Break the big sheet into manageable parts in the order that protects accuracy.
- Long cuts before small parts: Full-sheet stability matters more than speed.
- Finish edges get different treatment: A cabinet side panel and a roof sheathing panel don't get the same blade or the same tolerance.
If you're planning a broader material package for a remodel or addition, it also helps to browse construction supplies so your panel sizes, trim details, and substrate choices all line up before cutting day.
The three things that actually control cut quality
Most plywood cutting problems come from people focusing only on the saw. The saw matters, but it's only one part of the system.
Practical rule: Clean plywood cuts happen when blade choice, sheet support, and cut setup all work together.
Here's what matters most:
- Blade choice: Fine-tooth carbide blades are the standard fix for veneer tear-out.
- Support: A full sheet needs support across the panel and under the offcut so it doesn't sag or bind.
- Setup: Face orientation, blade depth, scoring, and feed rate decide whether the veneer stays intact.
One more detail catches people all the time. Plywood thickness is tolerance-based, not exact. The U.S. structural plywood standard allows sanded panels at 19.1 mm (3/4 in) and thinner to vary by ±0.4 mm (1/64 in), while thicker sanded panels may vary by ±3.0%. Unsanded, touch-sanded, and overlaid panels allow ±0.8 mm (1/32 in) at 20.6 mm (13/16 in) and thinner, and ±5% above that thickness (PS 1-07 plywood standard PDF). If you cut joinery assuming nominal thickness is exact, parts won't fit the way you expect.
Choosing the Right Blade and Tool for Clean Cuts
A clean plywood cut starts with the end use, not the saw on the truck.
If the panel will be buried behind drywall or used for roof sheathing, speed matters more than a furniture-grade edge. If it is a cabinet side, exposed shelf, or prefinished panel, edge quality matters more than shaving two minutes off the cut. That trade-off is what decides the tool.
Blade choice still does most of the work. For plywood, use a carbide blade with a high tooth count and an alternate-top-bevel grind, not an aggressive framing blade meant to hog through studs. This guide to choosing saw blades for different cuts is a good reference if you are matching blade style to sheet goods. On a circular saw, I usually want a fine-finish plywood blade. On a table saw or track saw, I step up to a blade built for veneer-faced panels.
Plywood cutting tools compared by finish and speed
| Tool | Best For | Pros | Cons | Ideal User Type |
|---|---|---|---|---|
| Circular saw | Breaking down full sheets on site | Fast, portable, easy to run with a straightedge, practical for solo sheet breakdown | Finish depends heavily on blade, guide, and setup | Remodelers, framers, DIY homeowners |
| Track saw | Cabinet parts, finish panels, repeated straight cuts | Best balance of control and cut quality on full sheets, easier to keep on line | Higher cost, slower for rough work | Finish carpenters, cabinet installers |
| Table saw | Repetitive shop cuts, narrower parts after breakdown | Accurate for repeat sizing, strong fence control | Poor first choice for a full 4x8 sheet unless you have proper support | Shop-based woodworkers, trim crews |
| Jigsaw | Cutouts, curves, irregular shapes | Useful for notches, sink openings, outlet cuts | Rougher edge, more blade deflection, poor for long straight cuts | Installers doing field modifications |
Here is the plain version.
For rough framing, subfloor patches, and general site cuts, a circular saw is usually the right answer. It is fast, easy to carry, and realistic when you are cutting outside, in a driveway, or in a half-finished room. Put a cheap 24-tooth framing blade on it and plywood will splinter. Put a proper finish blade on it, set the saw correctly, and it will do far better than a lot of people expect.
For cabinet work, a track saw earns its keep. The track controls the cut, the anti-splinter edge helps on finished faces, and you are not wrestling a full sheet across a table saw. That matters when you are working alone. On job sites around Sacramento, I would rather carry a track saw into a house than try to manhandle prefinished maple ply through a table saw set up in the garage.
A table saw shines after the sheet is already smaller. It is excellent for final width, repeat strips, and square parts. It is a poor first move for a full 4x8 unless you have real infeed, outfeed, and side support. A lot of chipped edges and bad kickback situations start with someone trying to force a whole sheet through a saw that is better suited to parts, not panels.
A jigsaw has one job here. Cutouts and curves. Use it for sink openings, vent notches, and odd field modifications. Do not use it to break down sheets if you care about straightness or edge quality.
What I would choose by job type
- Framing, underlayment, wall paneling, rough site breakdown: Circular saw with a straightedge and a plywood blade.
- Cabinets, built-ins, prefinished plywood, visible edges: Track saw first, table saw after for final sizing if needed.
- Shop production on smaller parts: Table saw.
- Curves and cutouts: Jigsaw.
Value Tools Co carries tested and inspected tools, including open-box and bare tool options. That matters if you already own batteries and just need the saw body that fits your current setup. For crews and homeowners alike, the smarter buy is often the tool that matches the work, not the most expensive saw on the shelf.
How to Measure Mark and Support a Full Sheet Safely
Most bad plywood cuts start before the motor spins. The sheet is half-supported, the offcut has nowhere to go, and the operator is trying to hold, guide, and cut all at once. That's how blades bind and cut lines drift.
A full sheet is 32 square feet of material that wants to flex if you let it. The cleaner answer is simple. Support the whole panel, support the waste side, and make sure the sheet stays still from the first inch of the cut to the last.
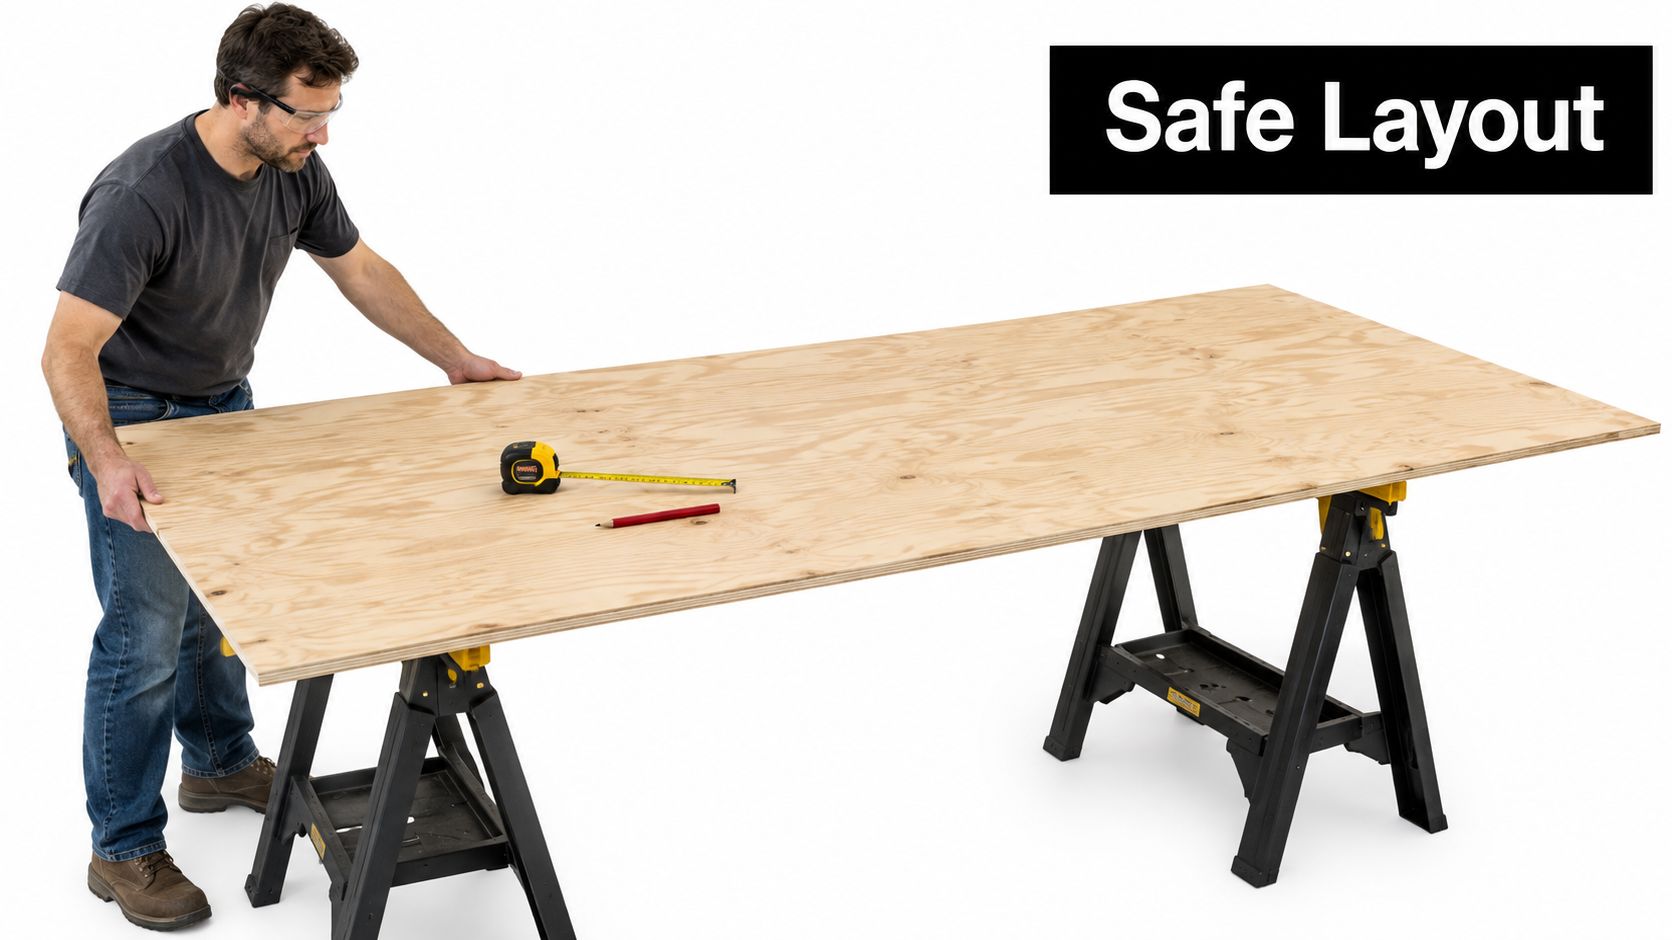
A layout workflow that prevents trouble
When I'm breaking down plywood alone, I don't start by chasing the easiest cut. I start by protecting the biggest reference edge and keeping the sheet stable as long as possible.
Use this sequence:
- Confirm actual dimensions first: Check sheet length, width, and actual thickness before laying out parts that need precise fit.
- Mark from a known edge: Don't assume the factory edge is perfect just because it looks straight.
- Group major cuts first: Long rips and crosscuts come before little filler strips.
- Plan where the offcut lands: If the waste side drops during the cut, it can pinch the blade and wreck the exit edge.
If the room you're building into has floor variation, your sheet breakdown often ties directly to fitting panels or cabinets to imperfect surfaces. In that case, it helps to review best uneven floor materials because material choice upstream affects how much scribing and recutting you'll do downstream.
Support methods that actually work
Many guides spend all their time on blades and almost none on handling. That's backwards on a full sheet. Independent how-to guidance consistently points to full-sheet support with foam board, sacrificial panels, sawhorses, or straightedge-guided cuts because handling method is as important as the saw when you want to avoid sagging, binding, and inaccurate cuts on a 4x8 panel (full-sheet support methods).
The setups I trust are:
- Rigid foam on the ground: Best solo option for a circular saw. The sheet is supported almost everywhere, and the blade can cut slightly into the foam.
- Sacrificial panel under the workpiece: Good when you need more support across a large face.
- Sawhorses with cross support: Works, but only if both the keeper piece and offcut stay supported through the end of the cut.
- Track or straightedge guide with clamps: This improves both safety and line accuracy.
Don't let the offcut hang free. The last few inches of the cut are where unsupported plywood usually pinches the blade or tears the veneer.
Measuring and marking tips for veneer-faced plywood
A fat carpenter pencil line is fine for roof sheathing. It isn't fine for cabinet parts. On veneer-faced plywood, use a sharp pencil or knife line and keep your marks on the waste side when possible.
A few habits help:
- Use visible reference marks: Veneer grain can hide light pencil lines.
- Mark both ends of long cuts: Then connect with a straightedge instead of trusting one point.
- Label finished faces: This avoids flipping the panel the wrong way once the saw is in hand.
In Sacramento summers, shade matters more than people admit. Batteries, adhesives on painter's tape, and even your own pace change in direct heat. If you're running cordless all day, rotate packs, keep them out of the sun, and do your precision cuts early.
Making Straight Cuts Without Splintering
A clean plywood cut is usually decided before the motor comes up to speed. On a job site, the sheet that chips is often the sheet that shifted, sagged at the end, or got rushed through the last foot of the cut.
Blade depth matters here. Set it just past the sheet, enough to clear the plywood without leaving a lot of tooth hanging below. That reduces tear-out on the bottom face and makes a circular saw easier to control.
The other decision is face orientation. With a circular saw, the blade enters from the bottom and exits through the top, so the top face is the one most likely to splinter. With a table saw, the opposite is usually true. Match the good face to the tool, not to habit.
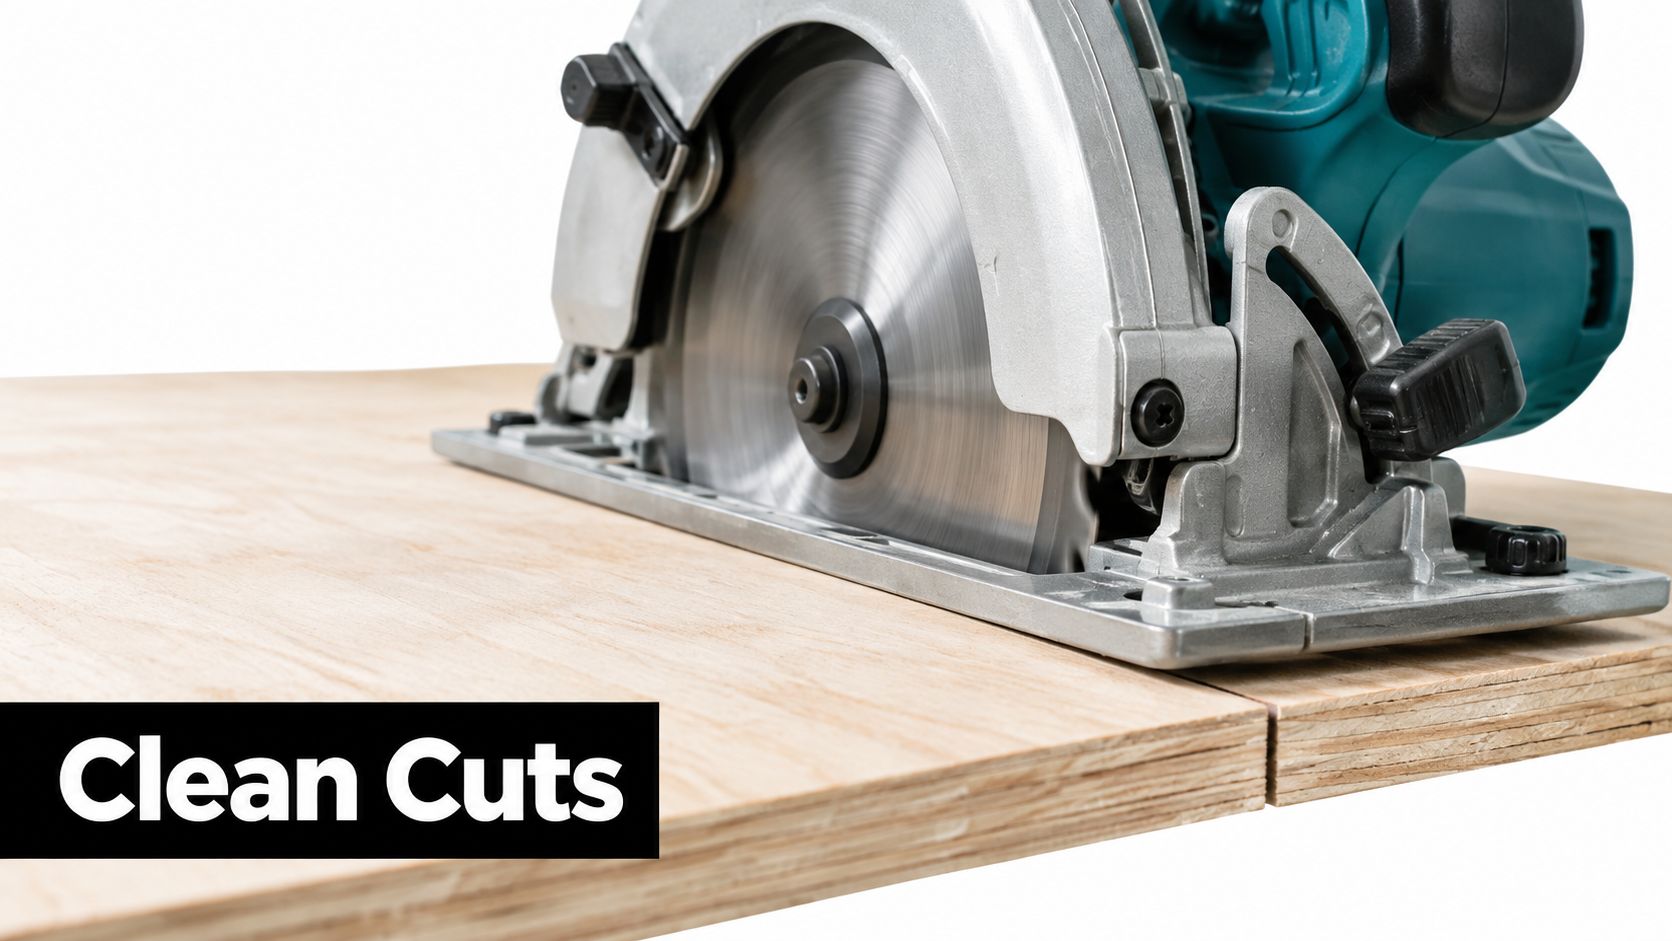
Circular saw cuts on plywood
For full sheets on site, a circular saw and guide is still the fastest setup that gives dependable results. It is what I use for breaking down cabinet plywood in a driveway, trimming roof sheathing, or sizing utility panels before they ever reach the table saw.
To keep the edge clean, stack a few methods that help:
- Use a guide: A straightedge, clamp guide, or track-style attachment keeps the saw from drifting over a long cut.
- Score the line first: One light pass with a knife severs surface fibers on veneer-faced panels.
- Tape only when it helps: Painter's tape can support brittle veneer, but it will not rescue a dull blade or bad support.
- Keep a steady feed rate: Pushing too hard flexes the blade. Creeping too slowly can scorch the edge or let the teeth chew at the veneer.
If you want straighter cuts from a sidewinder or worm drive without jumping to a dedicated track saw, this guide to circular saw attachments for straighter and cleaner cuts covers the accessories that make a real difference.
One more job-site point. Do not let the offcut break away at the end. That last few inches is where veneer blows out and blades get pinched. If the cutoff is narrow, support it. If the keeper piece is narrow, support that instead.
Track saw and table saw methods
A track saw gives the best balance of finish quality and speed for cabinet parts, shelving, and prefinished plywood. The track controls wander, the splinter guard helps the top face, and you can break down a full 4x8 sheet alone without wrestling it onto a table saw first.
A table saw still gives excellent results when the panel is manageable and the setup is right. Tear-out usually improves more from setup than from brute force. A zero-clearance insert, a clean backing surface, and a light scoring pass can all help. So can keeping the sheet tight to the fence without twisting it through the cut. The Wood Whisperer shows several of these tear-out control techniques.
Here's a good visual on straight-cut accessories and guides before you start dialing in your setup:
Tool choice should match the job. For framing or rough site work, a circular saw with a guide is usually enough. For painted built-ins, a track saw saves cleanup time. For repeated shop cuts at the same width, the table saw is hard to beat.
What to do for thin veneers and exposed edges
Thin face veneers leave less room for mistakes. On exposed cabinet ends or visible shelves, I do not rely on one trick and hope for the best. I want the blade, the support, and the cut direction all working together.
Use this sequence:
- Score first: Cut the face fibers before the main pass.
- Choose the clean side carefully: Put the better face where the blade enters, or use the tool setup that protects that face best.
- Support the exit zone: Veneer often chips where the blade leaves the panel, especially near the end of the cut.
- Make one committed pass: Stopping mid-cut, backing up, or correcting freehand usually leaves a worse edge than a slightly imperfect first setup.
Clean plywood cuts come from correct setup, full support, and the right tool for the finish you need.
Crosscuts across the face veneer usually splinter more than long rip cuts with the grain. That is why cabinet parts need more care than subfloor or wall sheathing, even when both are cut from plywood.
Finishing Edges and Fixing Common Cutting Problems
Even good cuts need cleanup sometimes. The question is whether the edge needs light finishing, edge banding, or a full recut. That decision gets easier when you know what caused the flaw.
Plywood is a tolerance-based material under standards such as ISO 1954:2013 and EN 315, which address dimensional limits for length, width, thickness, squareness, and edge straightness rather than assuming nominal size is exact (ISO plywood tolerances). In the shop or on site, that means you should verify actual fit, straightness, and squareness instead of assuming the panel is perfect from the rack.
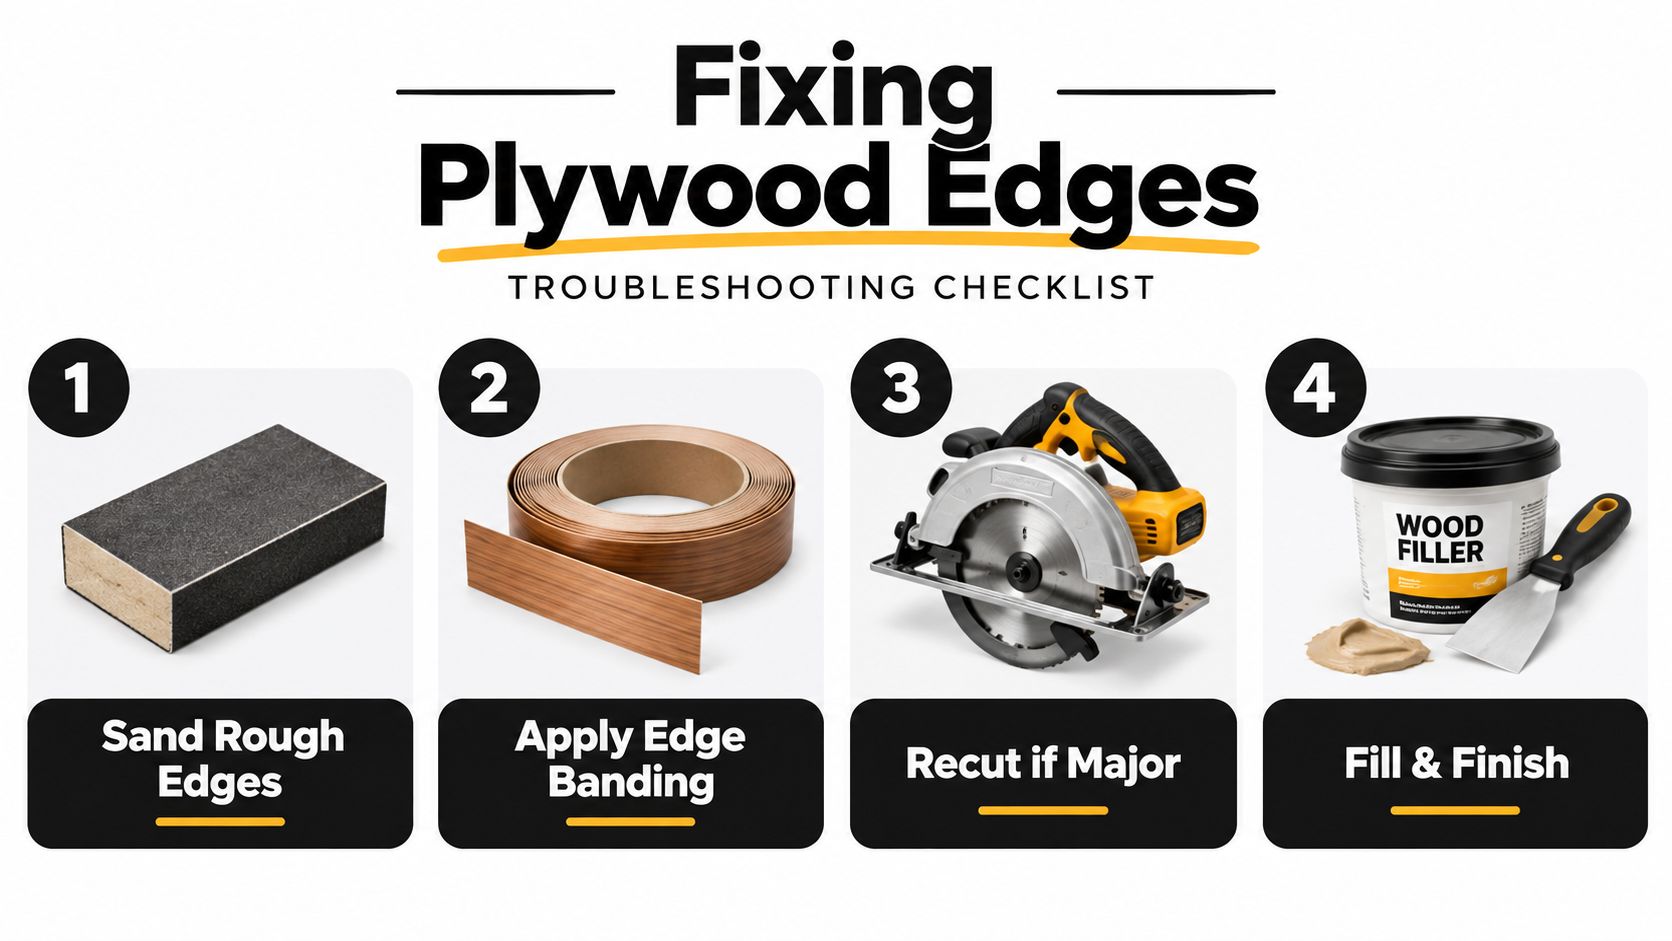
Common plywood cut problems and the real fix
| Problem | Usual Cause | Prevention | Fix |
|---|---|---|---|
| Splintered veneer | Wrong blade, weak support, no scoring | Fine-tooth blade, full support, score line, tape | Sand lightly if minor, recut if edge is exposed |
| Burn marks | Dull blade, too-slow feed, dirty blade | Clean blade, steady feed, don't pause | Light sanding, then inspect blade condition |
| Wandering cut | Freehand cut, poor guide, panel movement | Clamp a straightedge or use a track | Recut from a known straight edge |
| Bad dado or joinery fit | Assumed nominal thickness was exact | Measure actual panel thickness first | Resize groove or remake part |
A repeatable edge-finishing checklist
A lot of troubleshooting gets easier if you follow the same order every time.
- Check squareness first: If the part is out of square, sanding the edge won't fix the core issue.
- Inspect edge straightness next: Sight down the cut and check for bow or saw wander.
- Decide whether the edge shows: Hidden framing cuts can stay rough. Exposed cabinet edges can't.
- Match the repair to the damage: Tiny fuzz gets sanded. Larger chip-out usually gets recut.
For final cleanup, a sanding block or light pass with fine abrasive is usually enough on minor fuzz. On cabinet parts, edge banding often covers a clean but visually plain plywood edge. If the cut wandered or chipped badly, don't waste time polishing a mistake.
A repaired edge is fine when it stays hidden. A visible finish edge has to start with a clean cut.
Blade condition matters here too. If your cut quality drops off after a blade was working well, stop blaming the sheet first. Check for pitch buildup, dull carbide, or damage. This guide on when to sharpen or replace saw blades is a useful reference before you ruin more material with a tired blade.
Who This Guide Is For and Your Next Cut With Value Tools Co
Who this is for
This approach fits people who cut real plywood in real conditions and need a method that travels well from garage to job site.
It's a good fit for:
- DIY homeowners: You're breaking down sheets for shelving, workbenches, built-ins, or subfloor repairs and want cleaner cuts without buying a panel saw.
- Finish carpenters: You need cabinet parts, closet panels, and shelving with less edge cleanup.
- Small contractors and handymen: You want practical setups that work on occupied remodels and tight driveways.
- Sacramento and Elk Grove buyers: Fast local availability matters when a saw, blade, or battery fails mid-project.
Who should avoid this
Some jobs shouldn't start with handheld breakdown at all.
Skip this approach if:
- You need production-level repeatability: A cabinet shop, CNC workflow, or panel saw is the better path.
- You can't support the full sheet safely: No amount of blade quality fixes a dangerous setup.
- You only need a few rough cuts and the yard will do them: Let the lumberyard break the sheet down if transport and handling are the issue.
Buying logic that actually makes sense
If you already own cordless batteries, an open-box saw or bare tool / herramienta sola can be the smart buy for plywood work. The main thing is matching the tool to the finish level you expect. Circular saw for broad job-site utility. Track saw for cleaner exposed edges. Fine-tooth blade for either one.
For Northern California users, the local angle matters too. Value Tools Co offers tested and inspected tools, 30-day returns by mail or in-store, free return shipping on defective items, and savings of up to 55% on Open-Box or Bare Tools. For crews around Sacramento, that's paired with fast 1-day Northern California delivery and same-day Elk Grove warehouse pickup, which is useful when a replacement tool can't wait until next week. Their 30-Day Peace of Mind Guarantee is the kind of policy that makes more sense on a used or open-box purchase than a gamble from an unknown seller.
The bottom line is simple. If you support the sheet correctly, choose the blade for the finish you want, and cut with the right tool for the job, plywood stops being frustrating and starts being predictable.
FAQ
What is the best tool for cutting plywood cleanly?
A track saw usually gives the cleanest straight cut on finish-grade plywood. A circular saw with a guide is the more practical all-around job-site choice.
Should plywood be cut face up or face down?
It depends on the saw. Face orientation should match the tool's exit side so the visible veneer is protected.
How do you prevent plywood from splintering?
Use a fine-tooth carbide blade, score the cut line, apply painter's tape, support the full sheet, and feed the saw slowly and steadily.
Can you cut plywood with a jigsaw?
Yes, for curves, cutouts, and irregular shapes. It's not the right choice for long straight cuts on full sheets.
If you need a better plywood setup without paying full retail, Value Tools Co is worth a look for tested circular saws, track-saw-ready options, blades, and open-box or bare tool deals that fit real contractor budgets. If you're in the Sacramento area, the fast local delivery and same-day Elk Grove pickup make it easier to replace a weak link in your cutting setup before the next sheet hits the horses.


